
Is your garage door refusing to close or reversing for no apparent reason? Before you schedule a service call, the issue might be simpler than you think. In many cases, the culprit is a basic wiring problem you can safely diagnose yourself. This guide walks you through the essentials of garage door wiring — what to look for, how to stay safe, and when it’s time to call in a professional for garage door repair.
First, before doing anything else, unplug the garage door opener from the ceiling outlet. This is the most important step. It cuts all power to the motor and is non-negotiable for your safety.
Here’s the key distinction: the thick power cord you just unplugged carries high voltage — leave its internal wiring alone. But the thin wires running to the sensors and wall control are low-voltage, similar to doorbell wiring. They don’t carry enough power to hurt you, and those are the ones we’ll be inspecting. Don’t confuse these control wires with the chain, belt, or lift cables associated with the door’s mechanical system — those are entirely separate components. For more on the difference, the U.S. Consumer Product Safety Commission’s garage door safety guide is a solid reference.
The 3 Key Components in Your Garage Door’s Wiring System
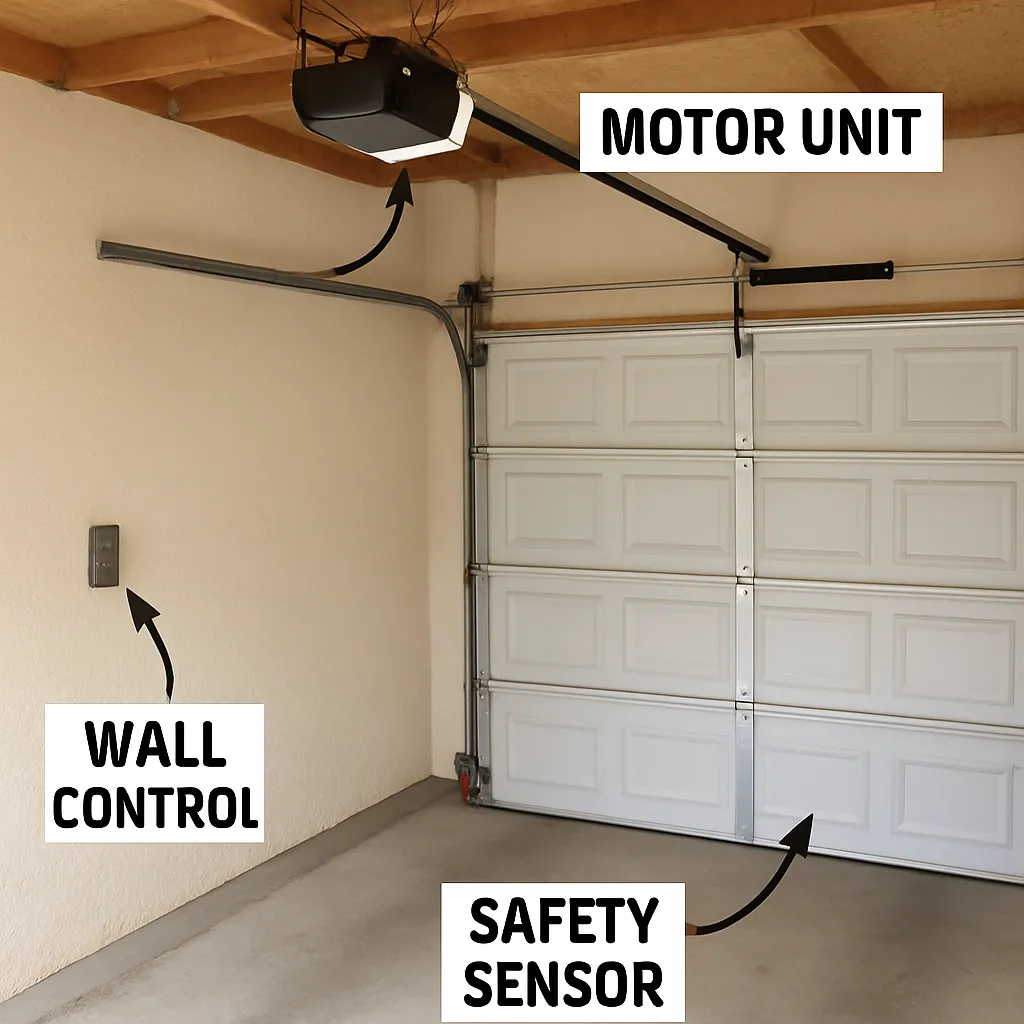
To spot a problem, you need to understand what you’re looking at. Think of your garage door opener’s electrical system as having a command center and two field agents.
The Motor Unit is the brain of the operation — mounted on your ceiling, it’s where all the low-voltage wires connect. Every signal from the sensors and wall button routes back here.
The Safety Sensors are two small electronic “eyes” positioned near the floor on either side of the door. One sends an invisible infrared beam to the other. If anything breaks that beam while the door is closing, the sensors tell the motor to reverse immediately. According to the International Door Association, sensor malfunctions are the single most common reason a garage door refuses to close.
The Wall Control Button is the panel inside your garage that sends the open/close signal. Like the sensors, it communicates with the motor unit through a thin, low-voltage wire. Understanding how these three components connect will help you solve most wiring issues without a service call.
How to Fix the #1 Cause of a Garage Door That Won’t Close
If your garage door starts to close but immediately reverses, the safety sensors are almost always to blame. These sensors rely on a continuous infrared beam across the door opening, and if that beam is broken or the wiring is compromised, the door won’t stay down.
Start by checking the LED indicator lights on each sensor. Both lights must be solid — not flickering — for the system to function. Typically, one is green (the sending unit) and the other is amber or red (the receiver). If either light is off or blinking, the sensor is misaligned, obstructed, or not receiving power.
Run through this quick 3-step check before calling for help:
- Check for obstructions. A recycling bin, broom handle, or even a spiderweb can block the beam. Clear anything from the sensor path.
- Look for solid lights. If either LED is off, gently nudge the sensor bracket. If the light flickers back on, the sensor was bumped out of alignment — tighten the mounting hardware and test again.
- Trace the wire. Starting at the sensor with the unlit LED, follow the wire back to the motor unit with your eyes and fingers. Look for damage — a staple piercing the insulation, a nick from a weed trimmer, or a connection that’s worked itself loose at either end.
If you find a broken wire or the lights won’t come on after realignment, you’ve likely found the problem. A simple splice or wire replacement is often all it takes. However, if both sensor lights are solid and the door still acts up, the issue may be with your wall control instead.
What to Do When Your Wall Button Stops Working
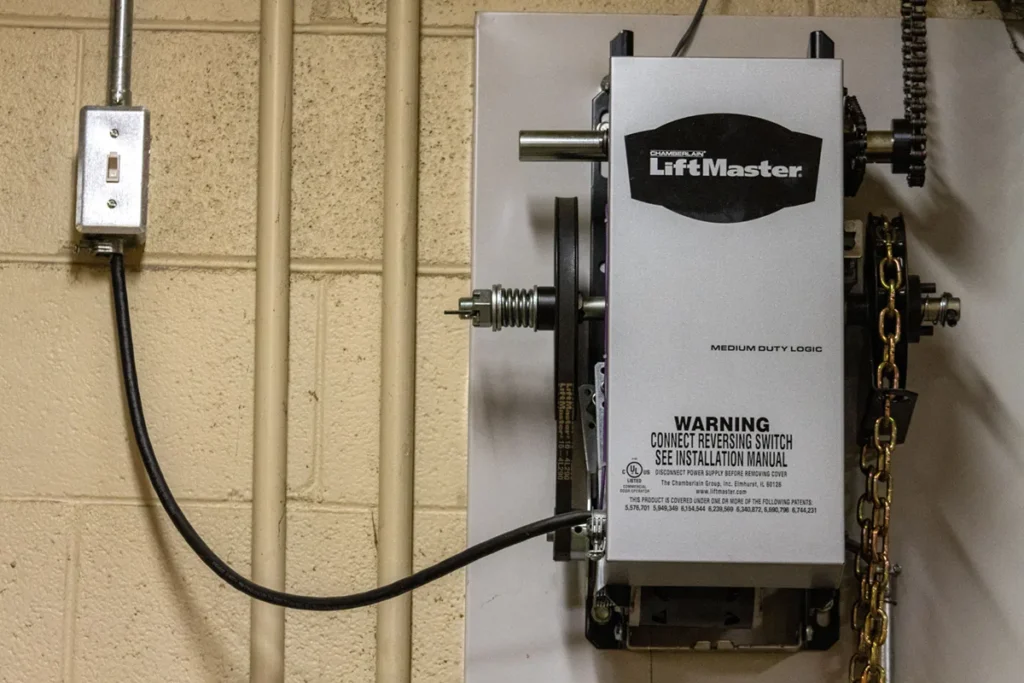
When your wall-mounted garage door button goes dead, the fix is often surprisingly simple. Like the safety sensors, the wall control uses a thin, low-voltage two-wire cord. Start by tracing that wire from the button back to the motor unit, looking for visible damage like a staple driven through the cord.
One detail worth noting: wall control wires are polarity-sensitive. One of the two wires will have a stripe (usually white or black). Match the striped wire to the red terminal on your motor unit and the plain wire to the white terminal. Your opener’s manual will confirm the specifics — most manufacturers, including Chamberlain/LiftMaster, publish wiring diagrams online.
Your inspection is two steps: first, gently pry the cover off the wall button and confirm both wires are snug on their screws. Then check the motor unit end — many openers use push-in terminals, so give each wire a gentle tug. If a wire pulls out easily, that’s your problem.
Quick Troubleshooting Checklist
Match the symptom to the likely cause before assuming something complicated is going on:
- Door starts to close but reverses, motor light blinks: Safety sensors are the prime suspect. Check alignment and wiring.
- Wall button is dead but remote still works: Check the wall button’s two-wire connection for a loose or disconnected lead at either end.
- Entire unit is lifeless — no lights, no sounds: Check the basics first. Make sure the opener is plugged into a working outlet and that the circuit breaker hasn’t tripped.
When to Call a Garage Door Professional
If you’ve worked through the steps above, you’re now equipped to handle sensor alignment issues and low-voltage wiring checks. But there’s a clear line between a DIY diagnostic and a professional repair.
If the problem involves the motor itself, the torsion springs, or the lift cables, stop. These components are under extreme tension and require specialized tools and training to service safely. Never attempt to adjust a cable or spring on your own. For a deeper look at what’s involved, see our guide on garage door openers and when to replace them.
The good news is that you no longer have to make a blind service call. You can tell a technician exactly what you’ve checked and ruled out, which saves time and money for everyone. The National Fire Protection Association recommends that any work involving high-voltage connections or main electrical panels always be handled by a licensed professional.
Need a Hand? We’re Here to Help.
If you’ve run through the checks in this guide and the issue persists — or if you’d rather have an expert handle it from the start — the team at Larry Myers Garage Doors is ready to help. We serve the Portland and Vancouver communities with honest, experienced service. Contact us today to schedule an inspection or get a quote.